

When Caroline of the popular sewing blog/pattern company Sew Caroline contacted me about participating in the tour for her new fabric line, Gleeful, I was ecstatic! Caroline has become a great friend over the past few months, and pretty much anything she creates is fun, colorful and beautiful (just like her!).
I asked for a yard of “After the Rain” in voile. Oh girls. Let me tell you - this stuff is heavenly! It has beautiful drape and is SO, so soft. And you know, some really soft fabrics get kind of fuzzy and lose their saturation after washing…but not this one! It is still the most heavenly blue color even after LOTS of wear by this little girl.
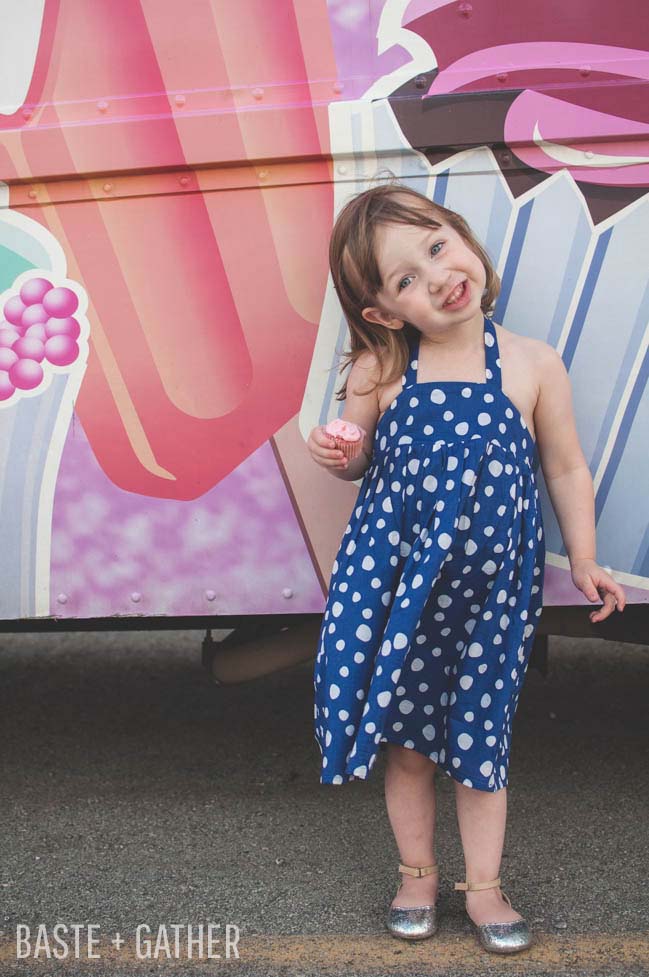
I whipped up this little number for Harper using the fabric Caroline sent, and I just adore her in it. The color is perfect with her skintone and blue eyes, and it was super easy to sew up.

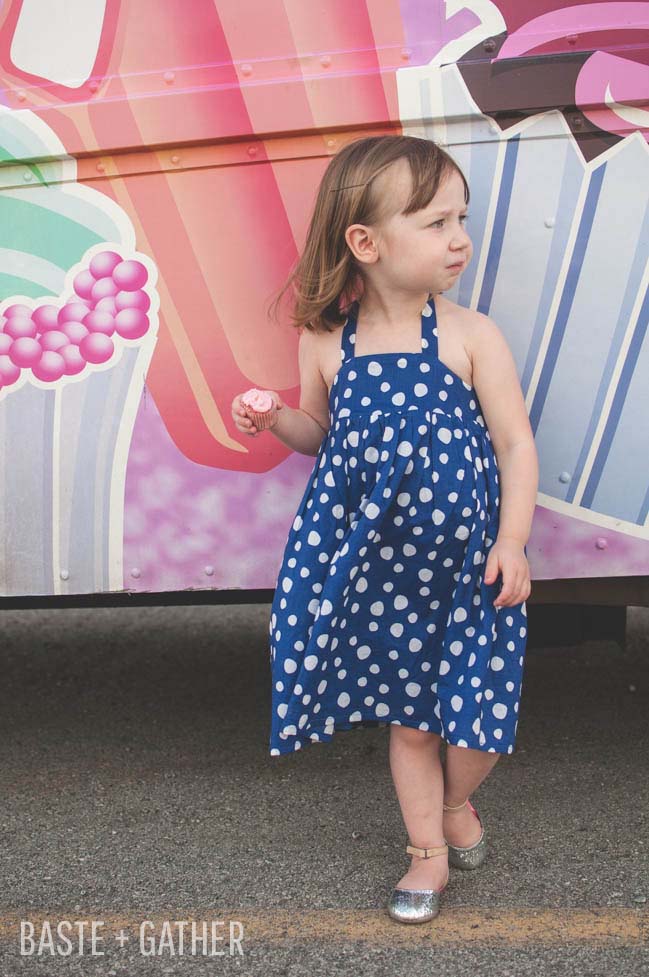
We did our little impromptu photo shoot in the parking lot at So Cupcake in Salt Lake City. I took her there to get a cupcake to (hopefully) bribe her to go somewhere outdoors and take photos, but then, we spotted this ice cream/cupcake truck and KNEW it was the perfect location! So, I present to you the Cupcake Dress!
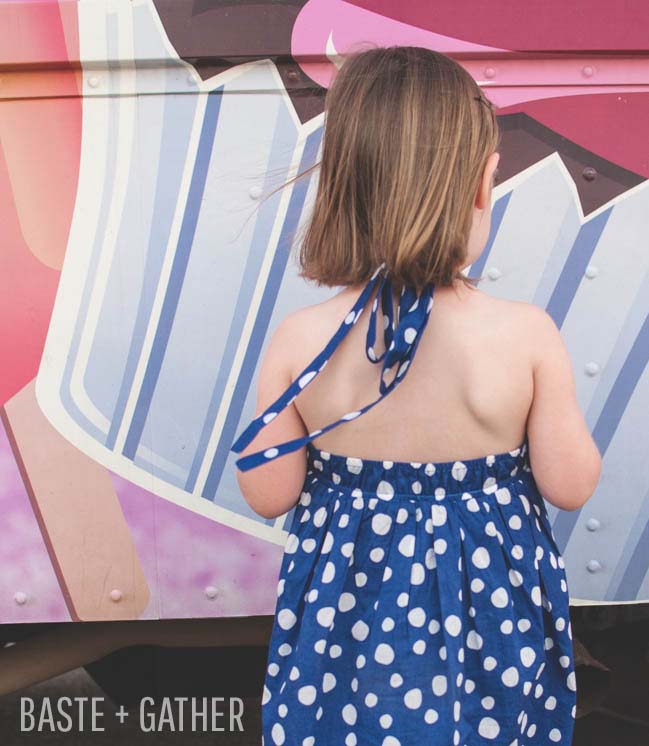
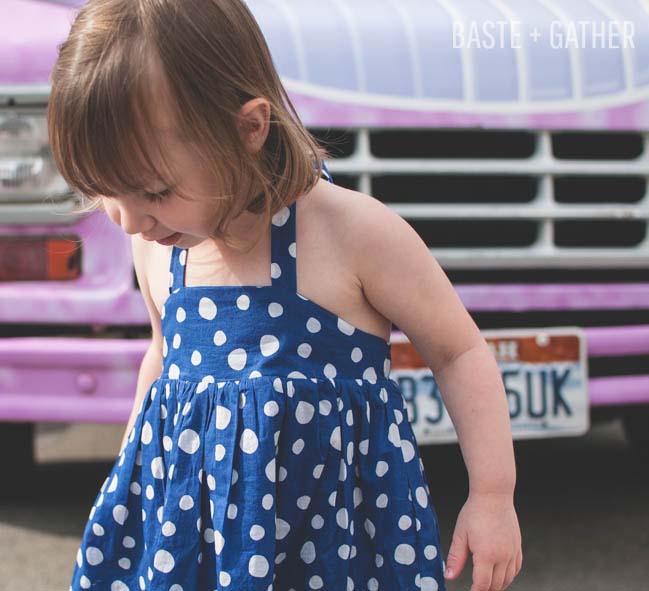
It’s a simple silhouette with elastic in the back for a comfortable fit, ties around the neck and a gathered skirt. It can be fully lined or just lined in the bodice depending on how sheer your main fabric is. For this version, I fully lined the dress with sheermist batiste from Hancock Fabrics. They had a royal blue that almost perfectly matched the main!
And hey, the best part? You guys get a free pattern! The bodice prints on just two pages and is available in sizes 12M-8. For the skirt and straps, you just have to cut some rectangles.
THANKS SO MUCH to Caroline for inviting me to participate in her tour!
Ready to sew a Cupcake Dress?!
NOTE: THE PRINTED PATTERN SAYS TO CUT A BACK BODICE PIECE OUT OF LINING IN ADDITION TO THE MAIN. THIS IS UNNECESSARY. YOU ONLY NEED TO CUT ONE FROM MAIN. ![]()
Sizing (sorry I forgot to put this in the original post!):
18″ chest - 12M
19″ chest - 18M
20″ chest - 2
21″ chest - 3
22″ chest - 4
23″ chest - 5
24 ” chest - 6
25″ chest - 7
26″ chest - 8
Cut skirt/lining/strap/elastic pieces as follows (click on the image for a larger version):

Sewing Instructions:
(Before I get lots of hate comments/email about my lack of illustrations, let me apologize. I started on these and just didn’t have time to finish with everything going on right now! Trust me though, this dress is super easy-to-put-together. Just follow the instructions step-by-step, and you’ll have no problems! xoxo)
1. Fold straps in half lengthwise with RIGHT sides together and press. Stitch around all but one short end with a 3/8″ seam allowance. Trim seam allowance 1/8″ from stitching - OR - if using a very lightweight fabric like I am, you may leave the seam allowance to give the straps a little heft. Turn straps right-side-out; press.
2. Pin straps to the RIGHT side of the front bodice piece as indicated on the pattern. Match up the raw edge of the straps with the raw edge of the top of the bodice front. Baste in place.
3. With RIGHT sides together, sew bodice front to bodice lining along top edge only. The straps will be sandwiched in-between the two layers. If desired, you may reinforce the straps with a second line of stitching on the seam allowance and close to the first line of stitching.
4. Fold back bodice piece in half lengthwise with WRONG sides together and press.
5. Stitch a line 1/4″ away from the folded edge. Stitch another line 5/8″ away from the raw edge. Finally, baste (use a wide stitch that will be removed later) another a line 3/8″ away from the raw edge.
6. Insert one piece of elastic in the casing you just created along the top of the back bodice piece using a small safety pin or bodkin. Carefully tug on the elastic until the end of the elastic meets with the edge of the casing. Stitch that end in place. Remove safety pin/bodkin, and repeat for the other side.
7. Insert second piece of elastic into the casing at the bottom of the back bodice piece. Stitch the ends in place as you did for the first piece of elastic.
8. Open up the front bodice, and insert the back bodice into it. The back bodice piece will be sandwiched between the main and lining of the front bodice and touching the right sides of the front bodice pieces. Line up the side edges of the front bodice pieces with the back bodice piece. Make sure the back bodice piece is jammed all the way up there so the side seams will be even when everything is turned right-side-out. Using a 3/8″ seam allowance, sew bodice pieces together at the side seams.
9. Turn bodice pieces right-side-out and press. You may clip curves along the front bodice if needed to make it lie nice and straight.
10. With RIGHT sides together, sew skirt pieces together at side seams. Serge, zigzag or pink seam allowances, and press toward back. Repeat for lining if you have chosen to include one.
11. Baste a wide stitch along the top edge of the skirt using a 3/8″ seam allowance for gathering. Baste a second line of wide stitches using a 1/4″ seam allowance. Grabbing only the two top threads at the beginning of the stitches you just made, pull to gather the skirt. Repeat for lining if you have chosen to include one.
12. With main side of bodice touching RIGHT side of skirt, pin skirt to bodice, matching side seams and center notches. Adjust skirt gathers evenly to fit.
13. If including a lining, you will now pin the right side of the lining to the lining side of the bodice, sandwiching the bodice between the skirt main and skirt lining. Adjust gathers evenly to fit.
14. With a 3/8″ seam allowance, sew skirt and optional skirt lining to bodice. Try to keep a very accurate seam allowance on the back side so you don’t catch the elastic in the stitching. Don’t stress too much if you do, though. ![]() Serge, zigzag or pink seam allowance.
Serge, zigzag or pink seam allowance.
15. Flip the skirt and optional skirt lining down, and press seam allowance up toward bodice. Almost done!
16. Turn bottom hem under toward wrong side 1/4″ and press. Then turn it under another 1/4″ and press again. Sew hem in place. Repeat for lining if you chose to do one.
17. Give everything one last press, and put that dress on a little girl! Adorable, right?!