


There was a time in my life when I had a closet full of pricey designer jeans. Boot-cut, straight leg, flared, low-rise, high-rise…I had them all. Then, I met my engineer husband who puts everything into a spreadsheet, looks at our budget multiple times daily and gets a text message every time a single dollar is spent on our family credit card.
Yeah, so designer jeans are a thing of the distant past. But since preschool costs about the same thing as college now and lots of little mouths have to be fed, it’s probably a good thing that he came along and saved me from myself.
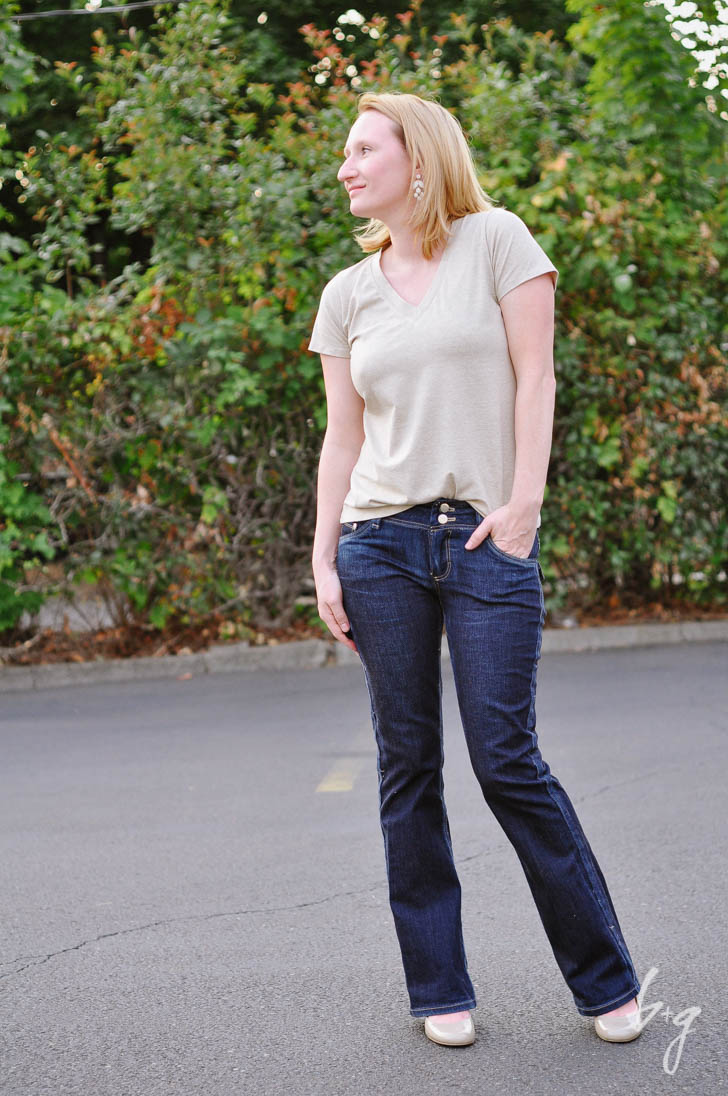
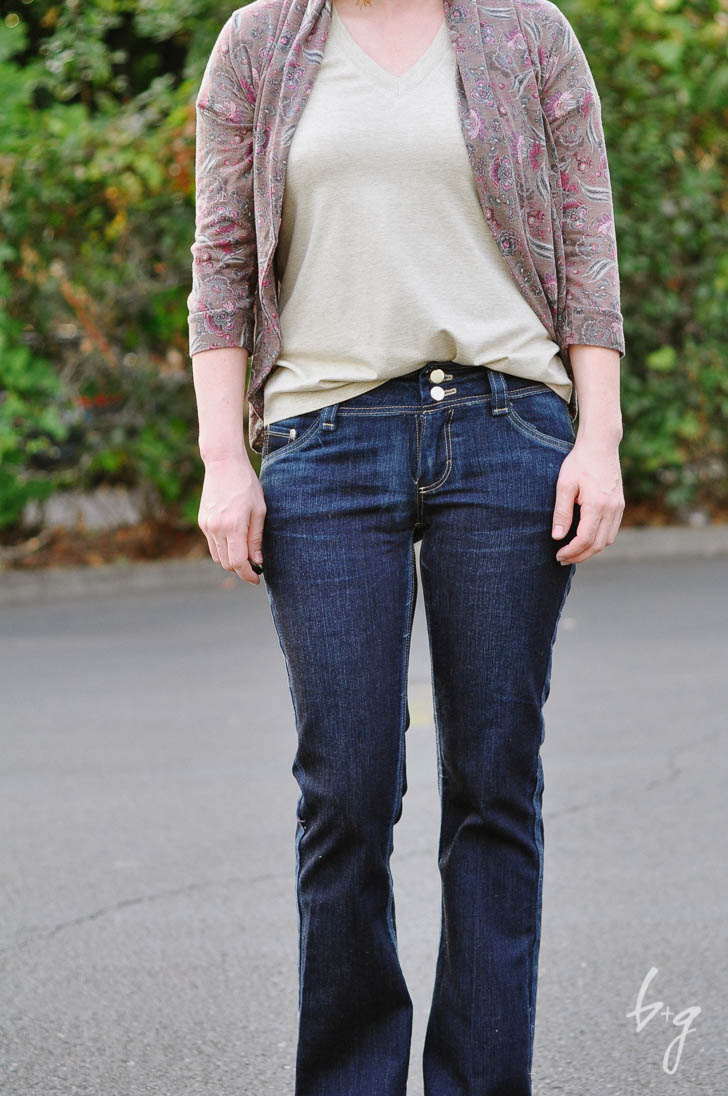
But fret not! Now I (and you) can have designer jeans for a very small fraction of the often-above-$150 price! Just take a look:
Now, don’t get impatient with me because I have quite a few things to tell you about in this post including a giveaway and discount. BUT FIRST, let’s get through the legal mumbo jumbo. Allllrighty? This post contains affiliate links, and if you click on them and make a purchase, I will make a small commission on those sales. I was provided the Sewing Designer Jeans course on Craftsy free of charge as a sample when I joined their affiliate program. I purchased my own Angel Bootcut Jean pattern and all the other supplies.
All set now? Grrrreat.
First, let’s talk about this course (which you can get a 50% discount on through August 15 at 11:59pm MST via this blog post!). I discovered it after reading this post about distressed Turia Dungarees. Since joining the Craftsy Affiliate Network, I had a free course enrollment I could use, so I jumped at the chance to learn how to sew jeans that look just like designer ones. I don’t really fancy super blinged-out jeans, but I do appreciate the slightly distressed seams and worn-in look that most jeans off-the-rack seem to have.
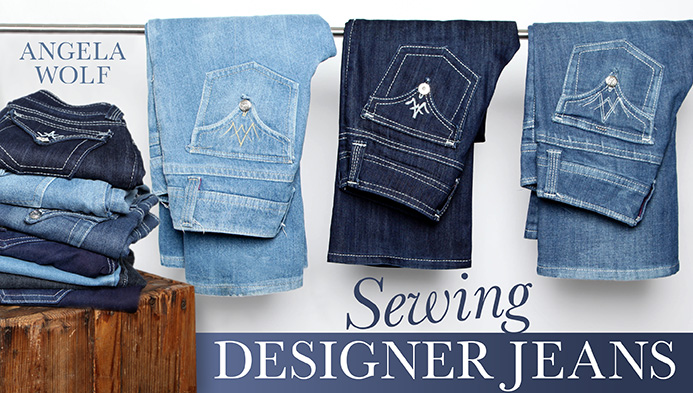 (Sign up via the image above to get 50% off when you sign up by August 15, 2015 at 11:59pm MST!)
I decided I had nothing to lose since I had a ton of time sitting in my rocking chair nursing the baby, and I started watching.
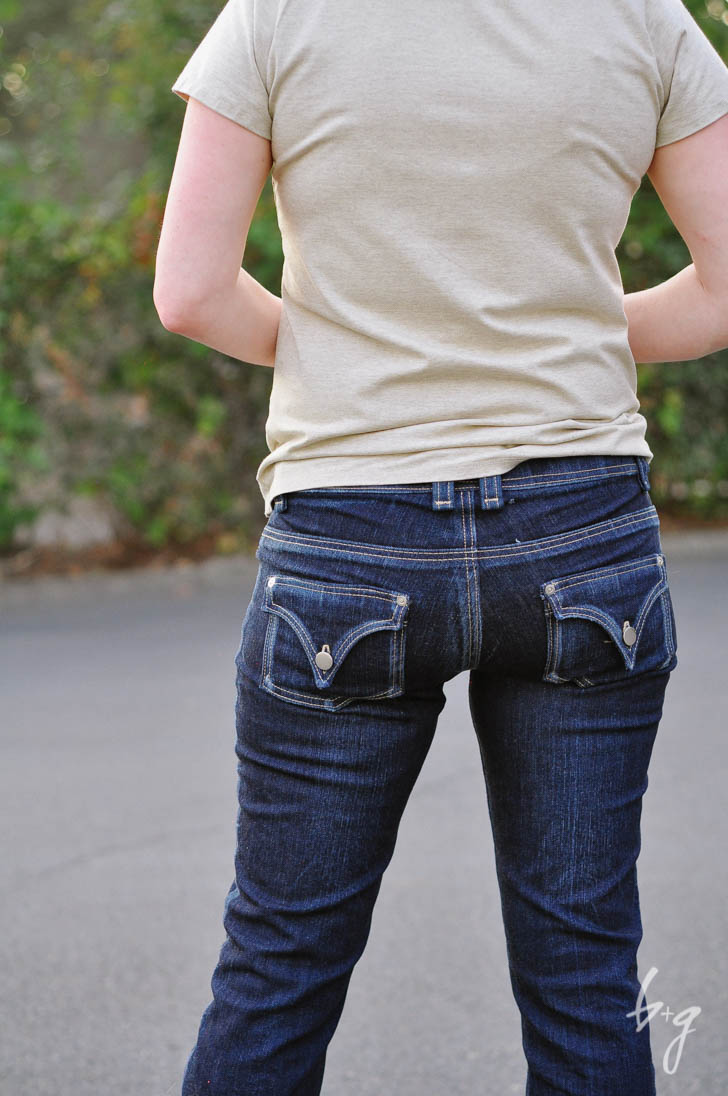
BLOWN. AWAY. That is the only way I have to describe everything I learned in this course! From the how to distress the jeans to getting all those layers of denim through a regular sewing machine to making the topstitching look perfect, it’s all in this course. I think my favorite little tip was how to topstitch those pocket flaps without the point getting buried under my needle (and without skipping a stitch). I’ll let Angela tell you all about it in the course though. 😉
As for the quality of the course, it was superb. And watching Angela was a pleasure. She has this rare quality that makes me want to be her friend (or hang out and sew!). You really won’t be disappointed.
As I was watching the course, I became interested in Angela’s bootcut jeans pattern. I actually hadn’t heard of it before the course, so I was happy to see it looks a lot like one of my favorite brands of designer jeans - Hudson. She offered a discount code on the pattern to course participants, so I ordered the paper version (it also comes in PDF) and anxiously checked the mailbox every day. (Note: the course applies to ANY jean pattern of your choice, yet the samples Angela uses are from her Angel Bootcut Jeans pattern.
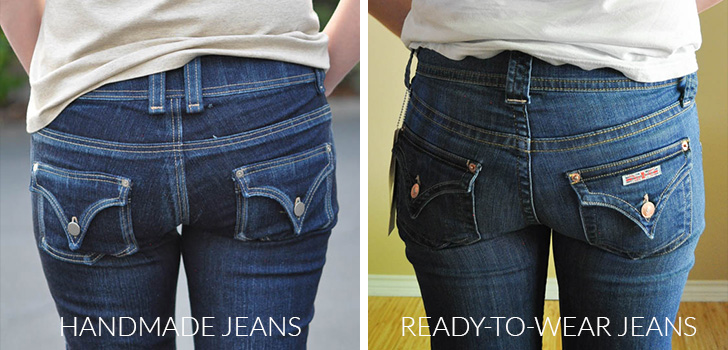
Next, I went on a little fact-finding mission. I grabbed a pair of comparable Hudson jeans from a nearby outlet for comparison. Since my body isn’t back to normal just yet since having the baby, I needed a different method to test the fit of these without wasting a bunch of time making muslins over and over. So, I purchased the tightest pair of the RTW jeans I could manage (since I still have 15 pounds to lose) and compared them to the pattern pieces.
Here are the RTW Hudson jeans:
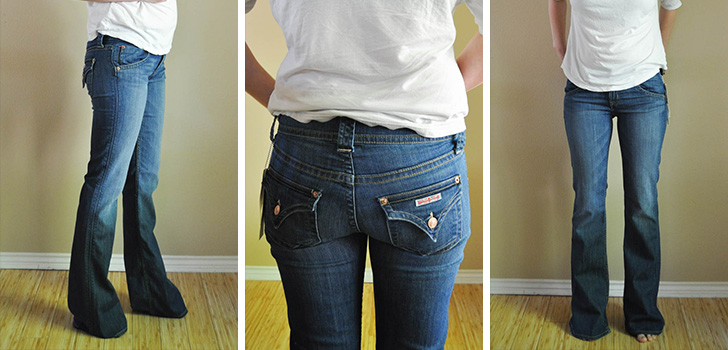
The RTW jeans were a size 27 (the same size I wore before babies), and I decided to make a size 4 in the Angel Jeans since they looked really close. Despite being super hard to button due to my current 30″ waist, the fit is superb. I should note that from my hips down, I am back to normal. It’s my upper body (waist, chest, back and upper arms) that I struggle with postpartum.
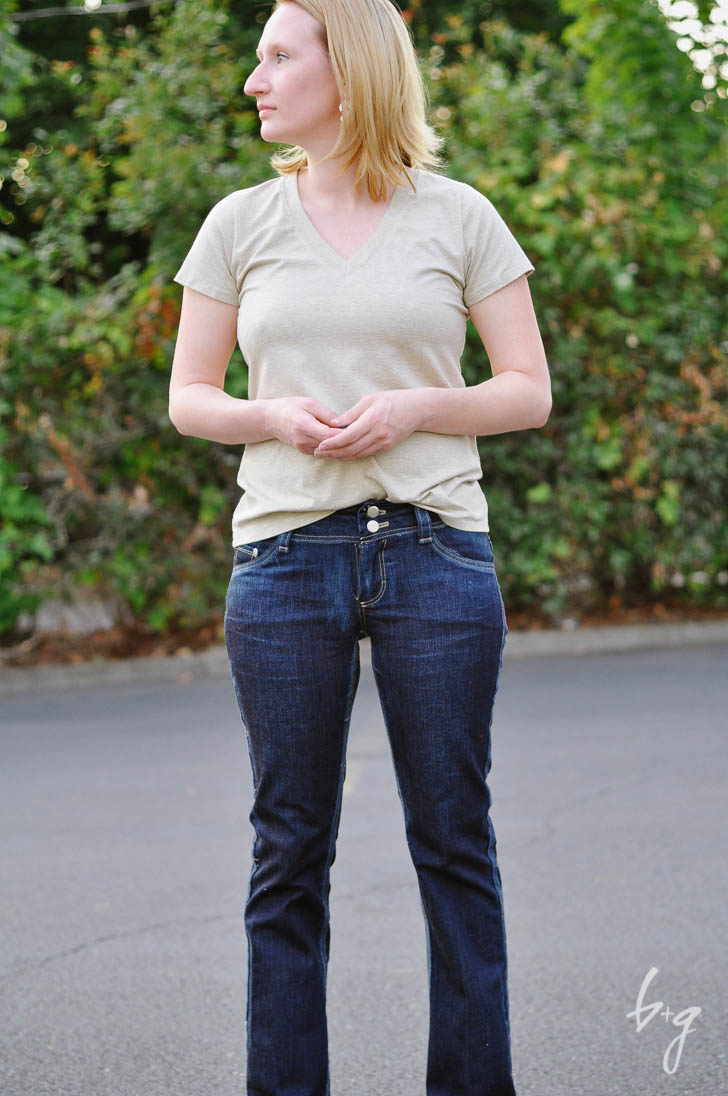
And yes, that is a Union St. Tee by Hey June Handmade!
Once I got my pattern, I had to procure a few supplies. Shockingly, the fabric was something I found in the red tag aisle at JoAnn Fabrics for $5/yard. It is a mid-weight stretch denim with 1% lycra. I don’t think it’s something they regularly stock since it was in the clearance section. I just got lucky! The topstitching thread, rivets, zipper and buttons all came from Taylor Tailor. I purchased my hand sander (similar here) and 220-grit sandpaper (similar here) at Home Depot, and the tailor’s clapper (same one I purchased but on Amazon for you Prime shoppers!) came from Modern Domestic here in Portland (and Angela sells them in her shop for even less!). The triangle tailor’s chalkcame from Fabric Depot in Portland. Angela was kind enough to include some quarter-inch twill tape in the pattern package, so I didn’t have to purchase that. I won’t tell you what it’s for, but it does something amazing for these jeans! The rest of the needed tools/supplies (hammer, pliers, navy thread, scissors, etc.) I had on-hand.
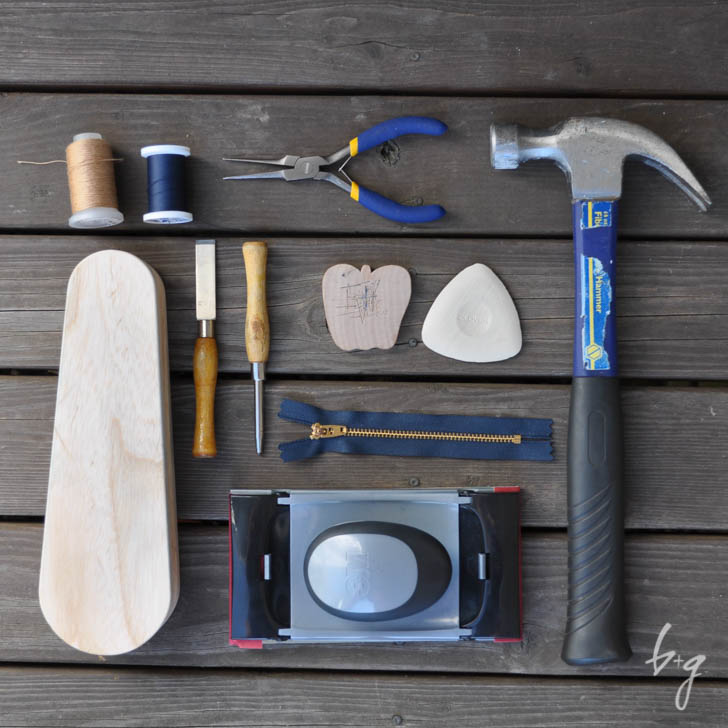
(The photo above isn’t exhaustive, but it sure does look pretty!)
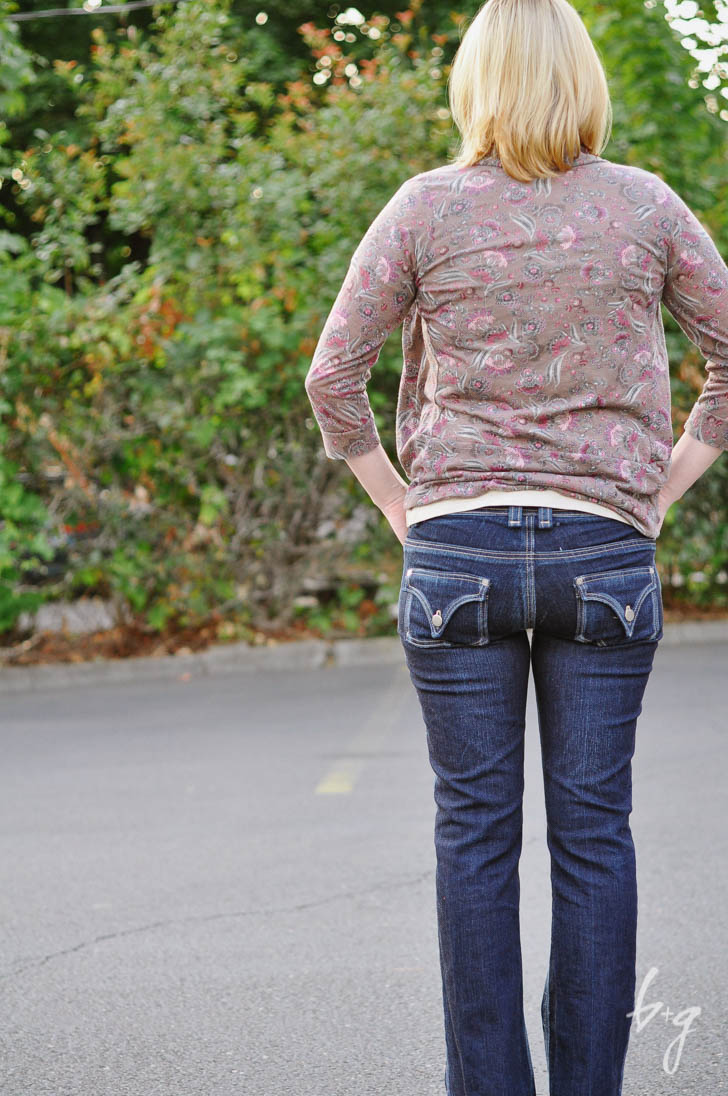
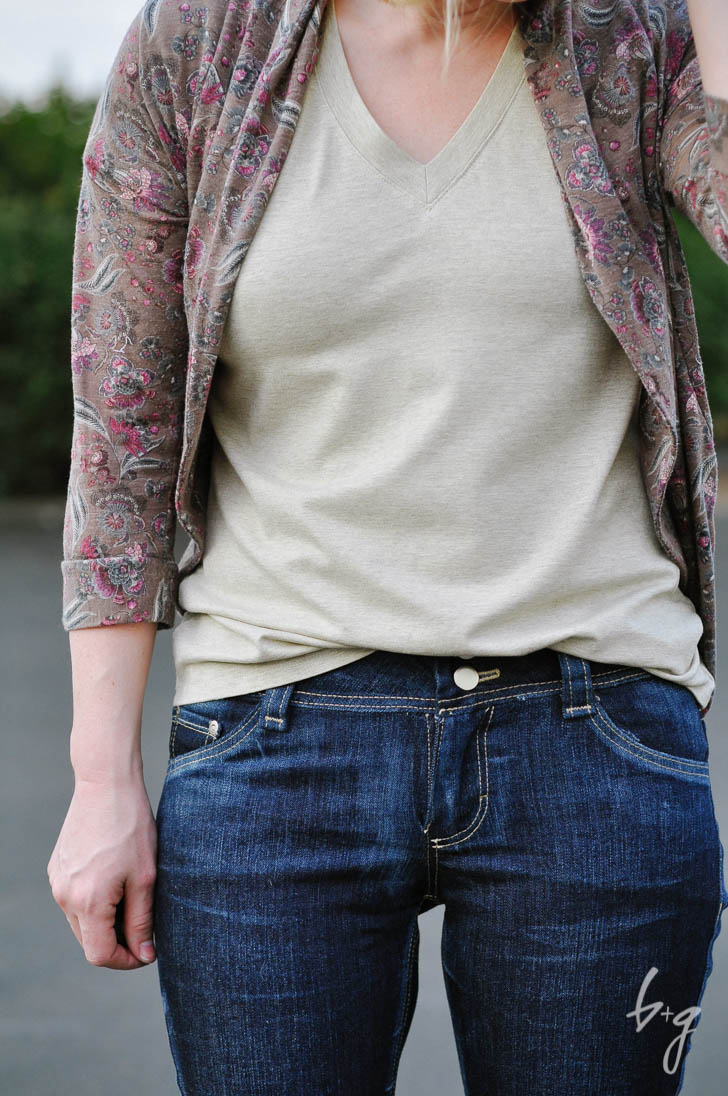
Oh and look, it’s a Julia Cardigan by Mouse House Creations! A totally handmade outfit!
The pattern itself is superb. I opted for the paper version which isn’t cheap as far as sewing patterns go ($24.95 for paper version; $19.95 for PDF), but is 100% worth it for the finished product. It includes a spiral-bound booklet to help you through all the steps, and it’s very well-written and illustrated. As I went through all the steps, I watched the videos again since I was distressing my jeans. You have to change the order of construction a little bit from the booklet to do it properly, and that’s where the course comes in! I also thought constructing the fly was easier while watching Angela do it on the screen instead of from the illustrations. I’ve always struggled with fly fronts, but Angela made it super easy and great-looking in the end. I love that that her method of fly construction makes everything look tidy from both the outside AND inside - just like designer jeans.
I couldn’t find flaw with the instructions except that one part tells you to finish/serge the center backs before sewing them together. But later, after you’ve sewn on the yoke pieces, you have to serge those. So, I think it would have been better to wait and serge that center back all at once after the leg pieces were joined to the yokes. No biggie though. The one other thing I will change next time is to make the front pocket pieces a little wider/longer. I wear my jeans very tight, and this can cause them to kind of peek out when they are stretched across the hips. I like the security of knowing they are nicely tucked in my pockets! This is just personal preference.
Everything else was seamless. I made a note of the changes I made in my little spiral-bound instructions and also what stitch lengths/widths I used for the various topstitching.
Another thing I love about this pattern is that it’s customizable. Don’t like the flap pockets? She includes regular pocket pieces, too. And there are instructions for lowering/raising the rise, narrowing the legs, lengthening/shortening, etc. The only modification I made to mine was to shorten the legs at the lengthen/shorten lines by 2″ since I wanted a 32″ inseam (the pattern is for 34″). For reference, I am 5’6″.
DID I MENTION THEY WERE EASY-TO-SEW? I know it’s hard to believe, but they really were. Yes, I am an experienced sewist, but anyone with basic sewing skills should be able to sew these with the combination of a good pattern and the course described in this post. I finished them over one weekend in just a few total hours. The hardest part was actually inserting the post buttons on the front fly and the back pockets. Angela warned me about the difficulty of hammering these in (and makes recommendations for alternatives), but I wanted to go for it anyway. I actually need to re-do two of them as I didn’t hammer them in straight. My advice is to PRACTICE before applying them to your jeans!
I think that next time I make these, I will try a more classic look - perhaps do regular pockets, a narrower waistband, single-button closure and straighter legs. Either way, I’ve definitely found my jeans pattern. Everyone has their favorite, and there are definitely some good ones out there, but this one is the closest to perfect I’ve found for my body type.
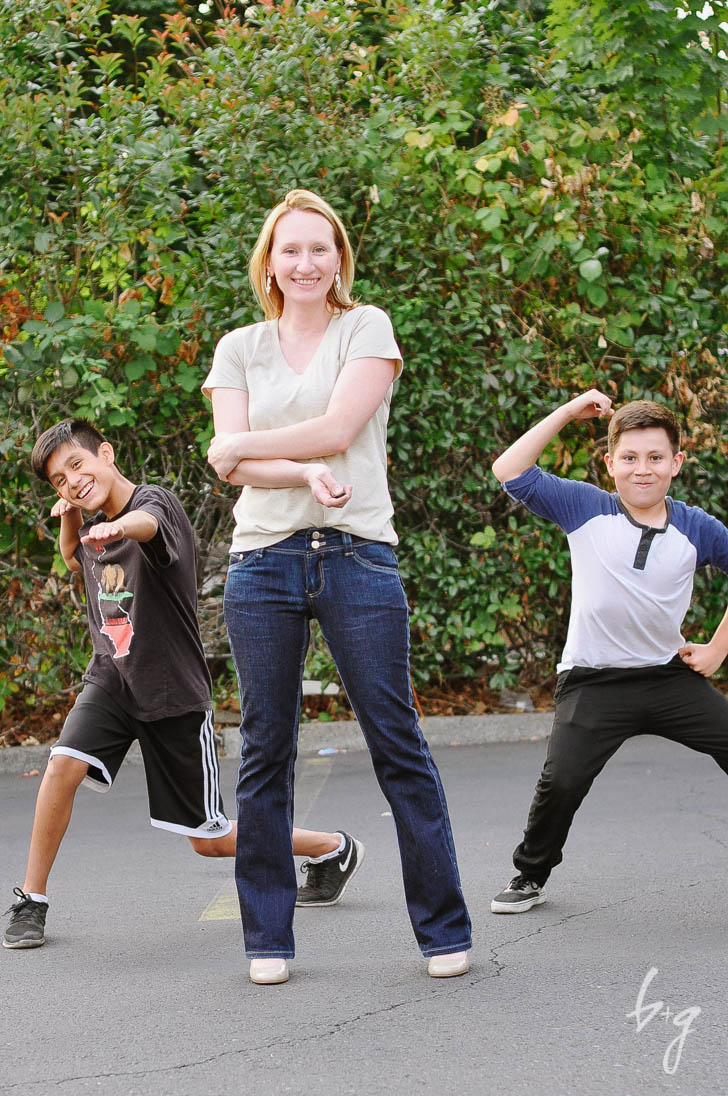
Coincidentally, I took these photos in the parking lot behind Joann Fabrics. The neighborhood kids were riding their bikes all around me, so we decided to have some fun with this shoot! One of them said, “We’re going to be famous!” Ha!
Now, for the good part!
Angela has generously offered a 15% discount off her Angel Jeans pattern for all my readers! Just enter code JEANS15 at checkout to receive the discount. She’s also given me a copy of her pattern to give away right here! If the winner is in the US, she will receive a paper copy. Otherwise, the PDF version will be sent. Enter using the Rafflecopter widget below.
AND THAT’S NOT ALL…
Craftsy is also offering my readers a 50% discount on the course, Sew Designer Jeans through August 15, 2015 at 11:59 MST! Just click through any of the links to the course on this page to automatically get the discounted price.
Ready to enter?!
